
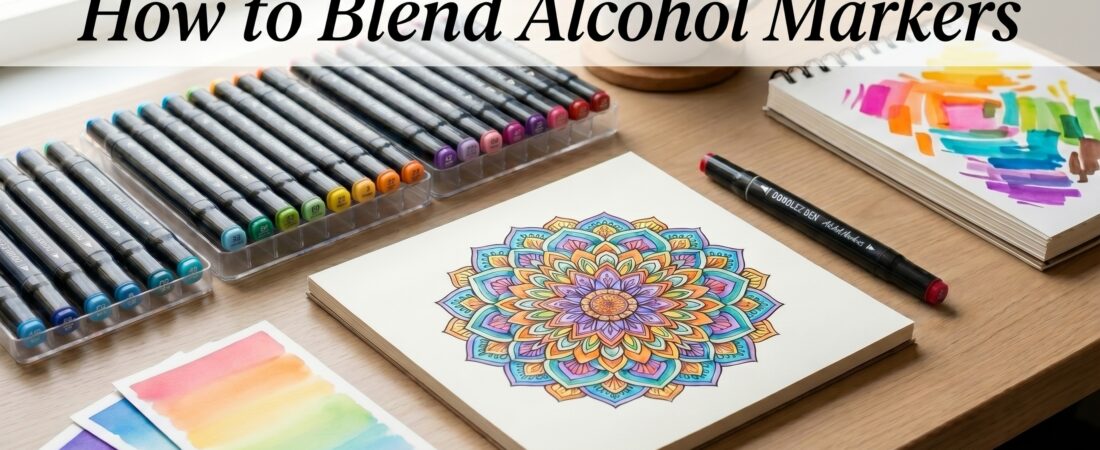
One of the biggest reasons artists and coloring enthusiasts love alcohol markers is their ability to create smooth, seamless blends. Unlike many water-based markers, alcohol markers allow colors to transition gradually, making it easier to create shadows, highlights, and realistic color effects.
If you’re new to alcohol marker blending, don’t worry. Learning how to blend alcohol markers is easier than it looks. With the right techniques and a little practice, you can create beautiful gradients and professional-looking coloring pages.
In this guide, you’ll learn how to blend alcohol markers, choose color combinations, avoid common mistakes, and improve your coloring results.
What Makes Alcohol Markers Easy to Blend?
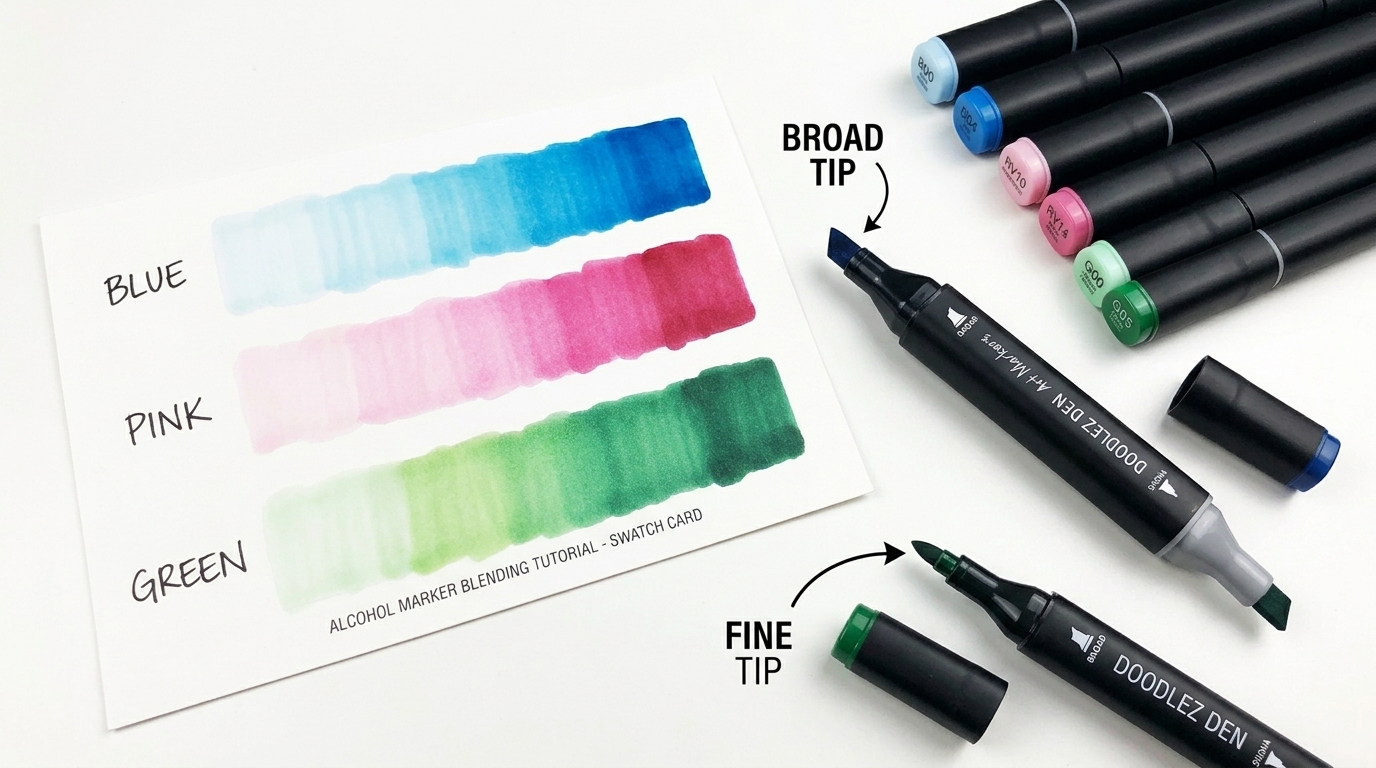
Alcohol markers use alcohol-based ink that stays wet slightly longer than many traditional markers. This allows colors to mix together while the ink is still fresh.
Benefits of alcohol marker blending:
Smooth color transitions
Reduced streaking
Professional-looking shading
Better depth and dimension
Vibrant coloring results
Supplies You’ll Need
Before you start blending alcohol markers, gather:
Marker-friendly paper
Scrap paper for testing colors
Protective sheet behind coloring pages
If you’re new to alcohol marker blending, don’t worry. Learning how to blend alcohol markers is easier than it looks. With the right techniques and a little practice, you can create beautiful gradients and professional-looking coloring pages.
In this guide, you’ll learn how to blend alcohol markers, choose color combinations, avoid common mistakes, and improve your coloring results.
Recommended Marker Types
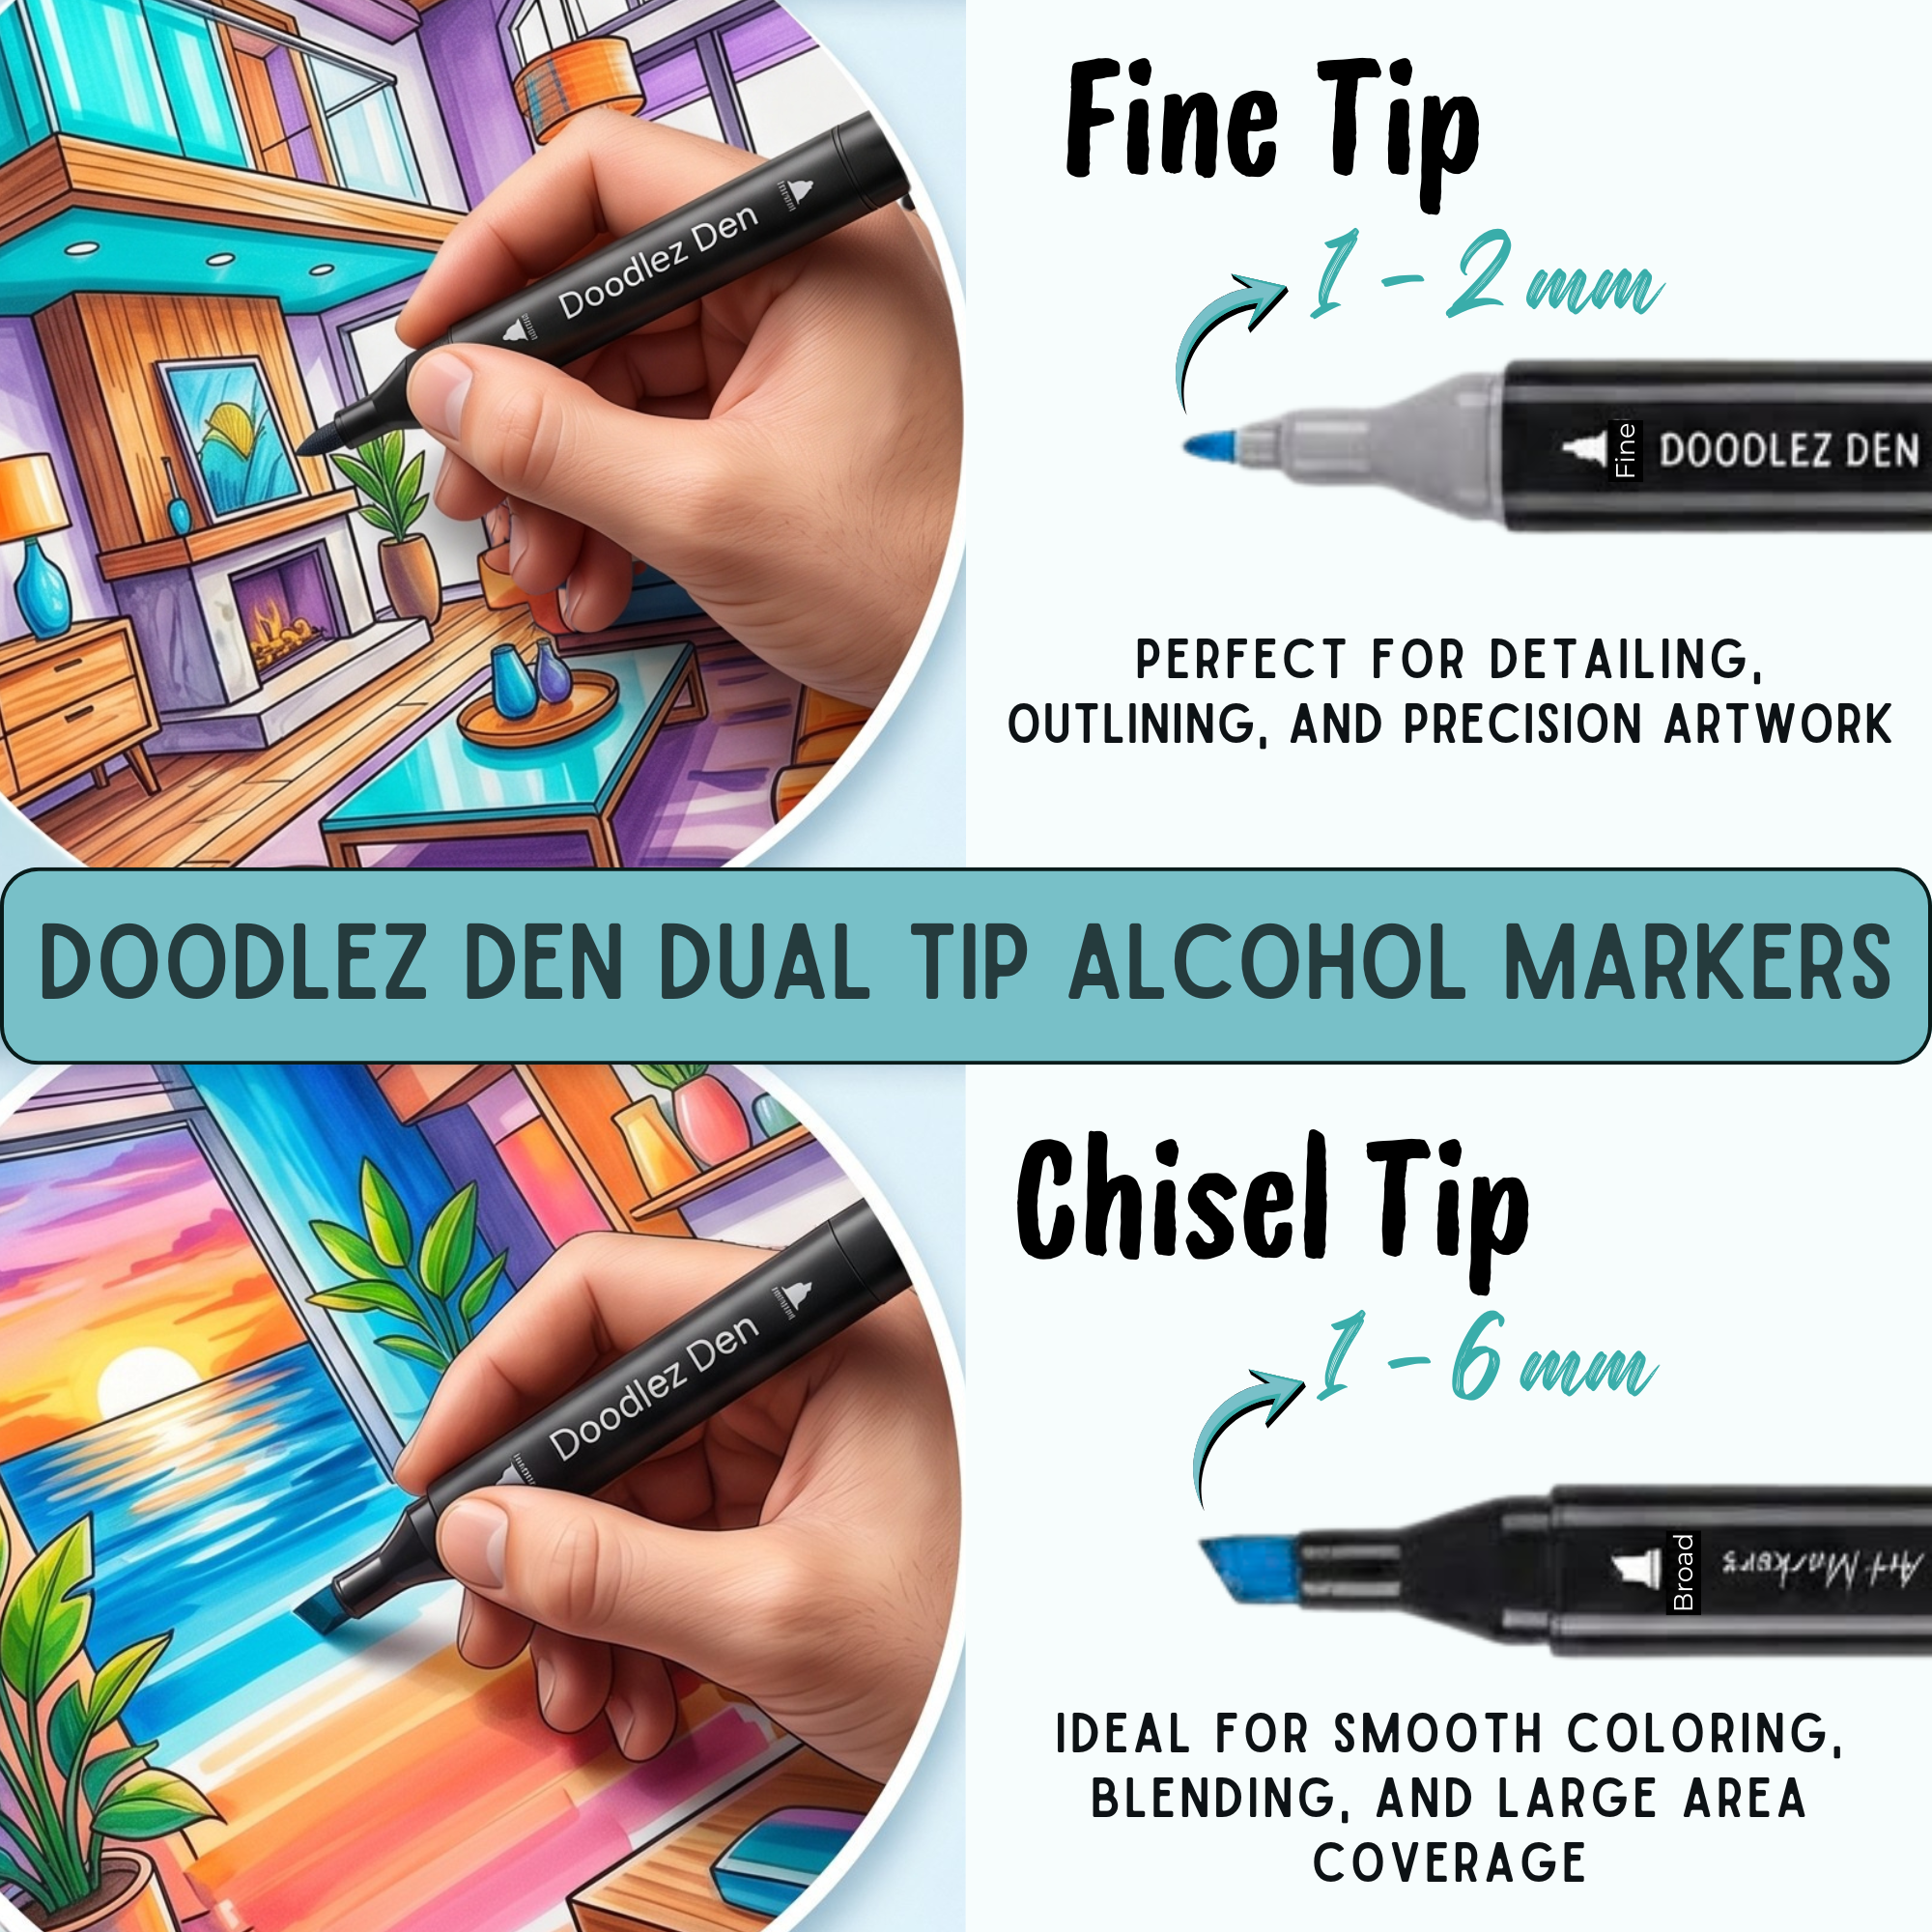
Dual-tip alcohol markers are ideal because they provide both detailed coloring and broader coverage.
Technique 1: Light-to-Dark Blending
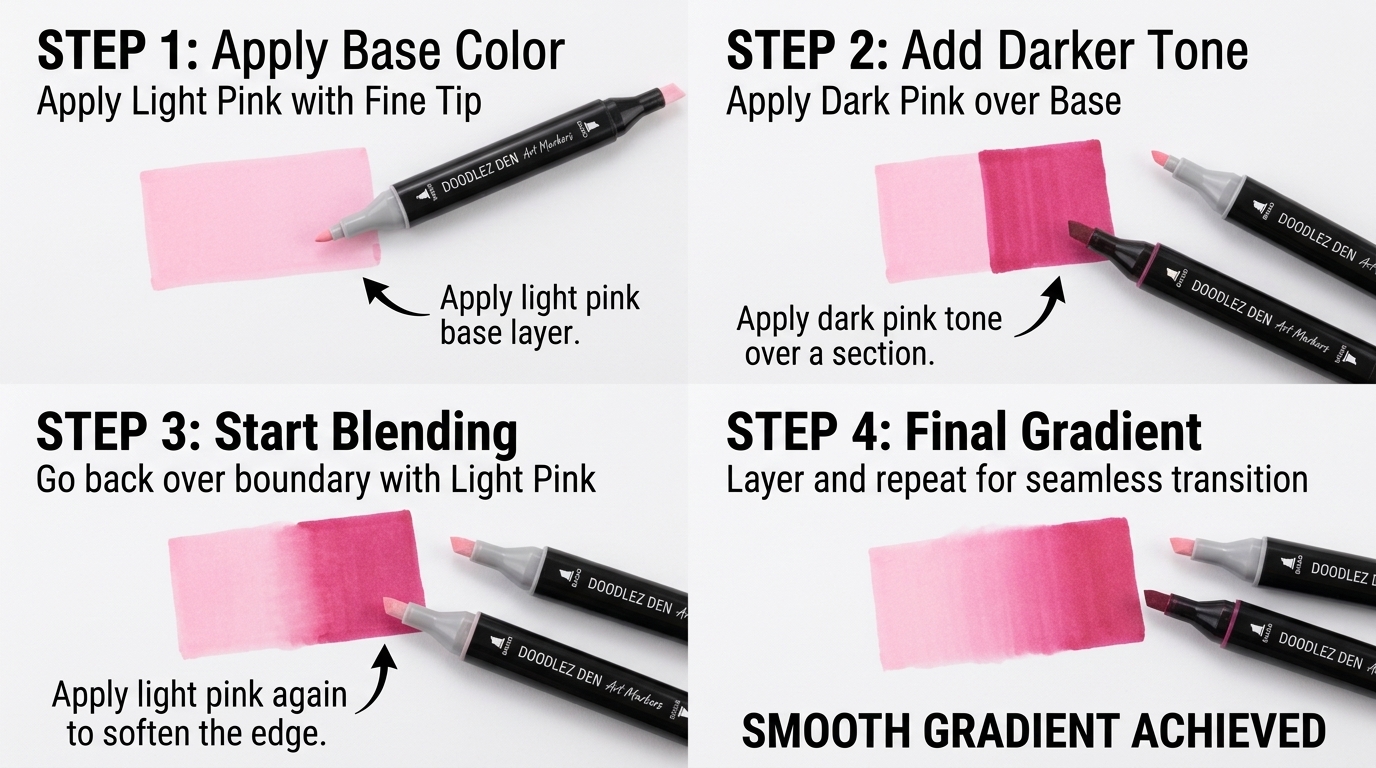
This is the easiest blending method for beginners.
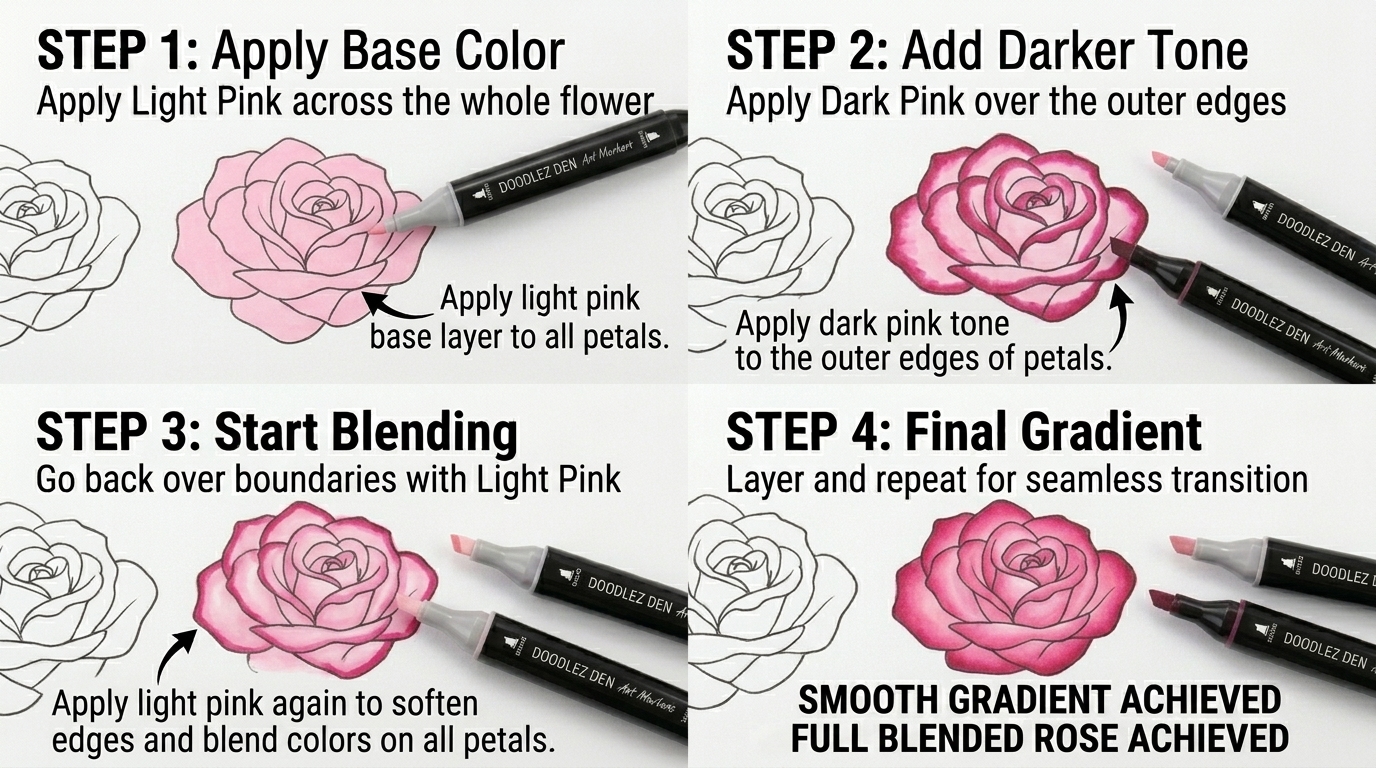
Step 1
Choose two colors from the same color family.
Example:
- Light Pink
- Medium Pink
Step 2
Color the lighter shade first.
Step 3
Apply the darker color where you want shadows.
Step 4
While the darker ink is still wet, go back over the transition area using the lighter marker.
This helps soften the edge between colors.
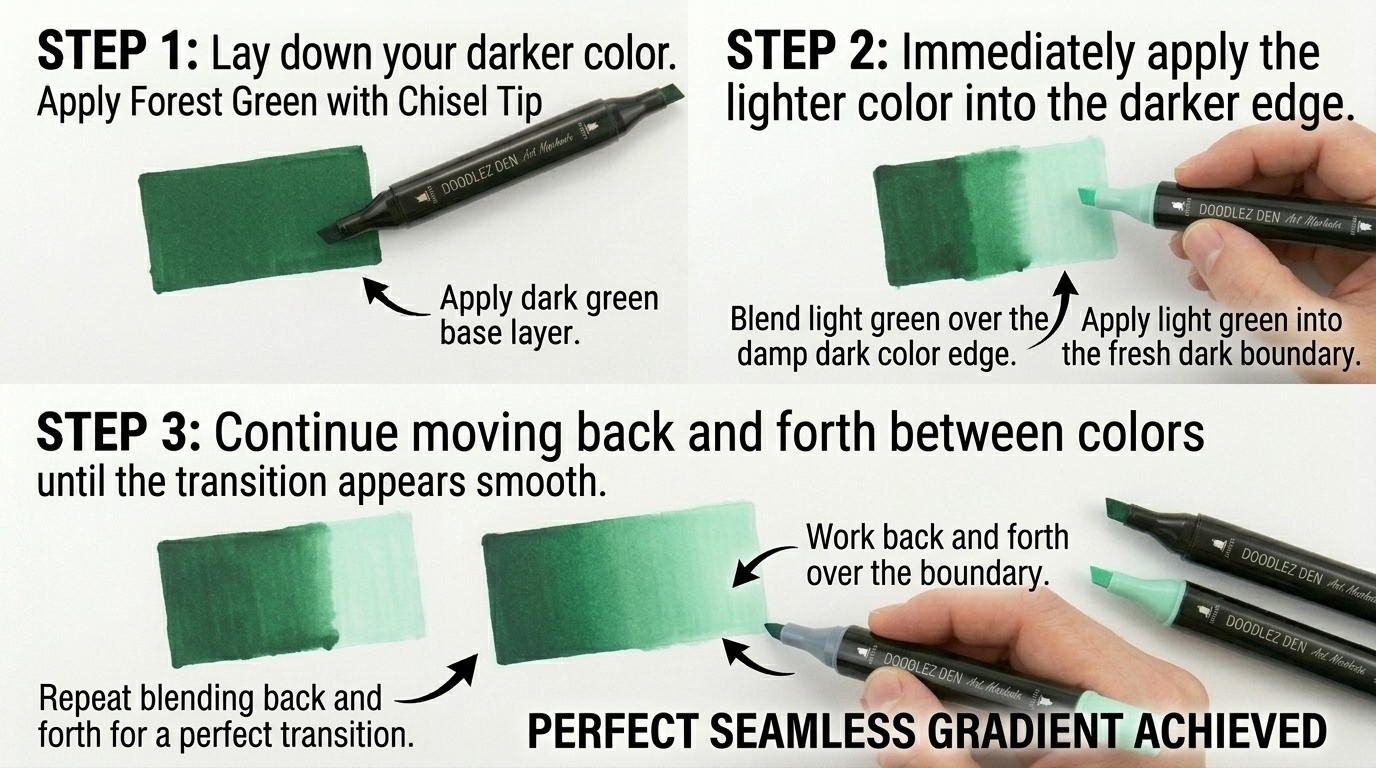
This method creates stronger shadows.
Step 1
Lay down your darker color.
Step 2
Immediately apply the lighter color into the darker edge.
Step 3
Continue moving back and forth between colors until the transition appears smooth.
Best For
Hair
Fabric
Realistic illustrations
Technique 3: Three-Color Blending
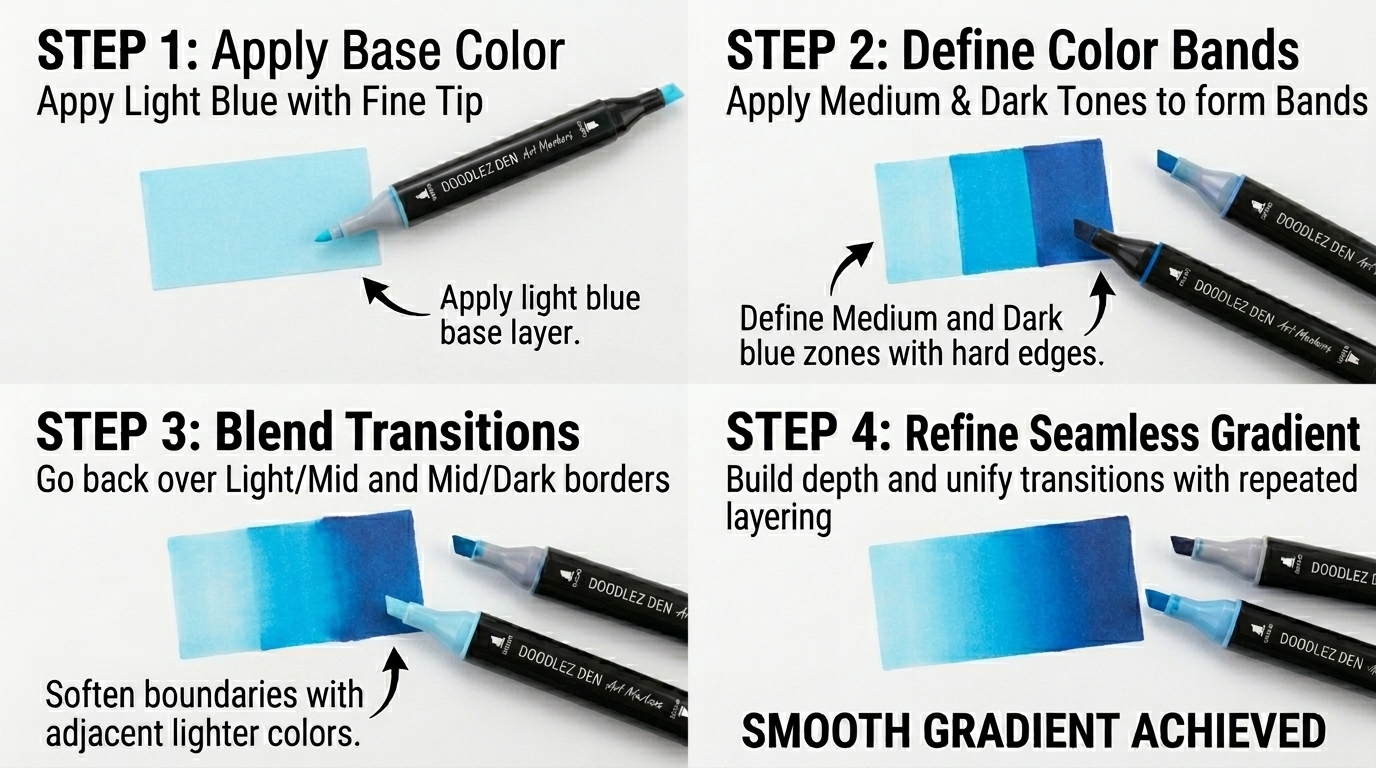
Once you’re comfortable with two-color blends, add a middle shade.
Example:
Light Blue
Medium Blue
Dark Blue
Apply colors from lightest to darkest and blend each transition.
This technique creates the smoothest gradients.
Best Color Combinations for Alcohol Marker Blending
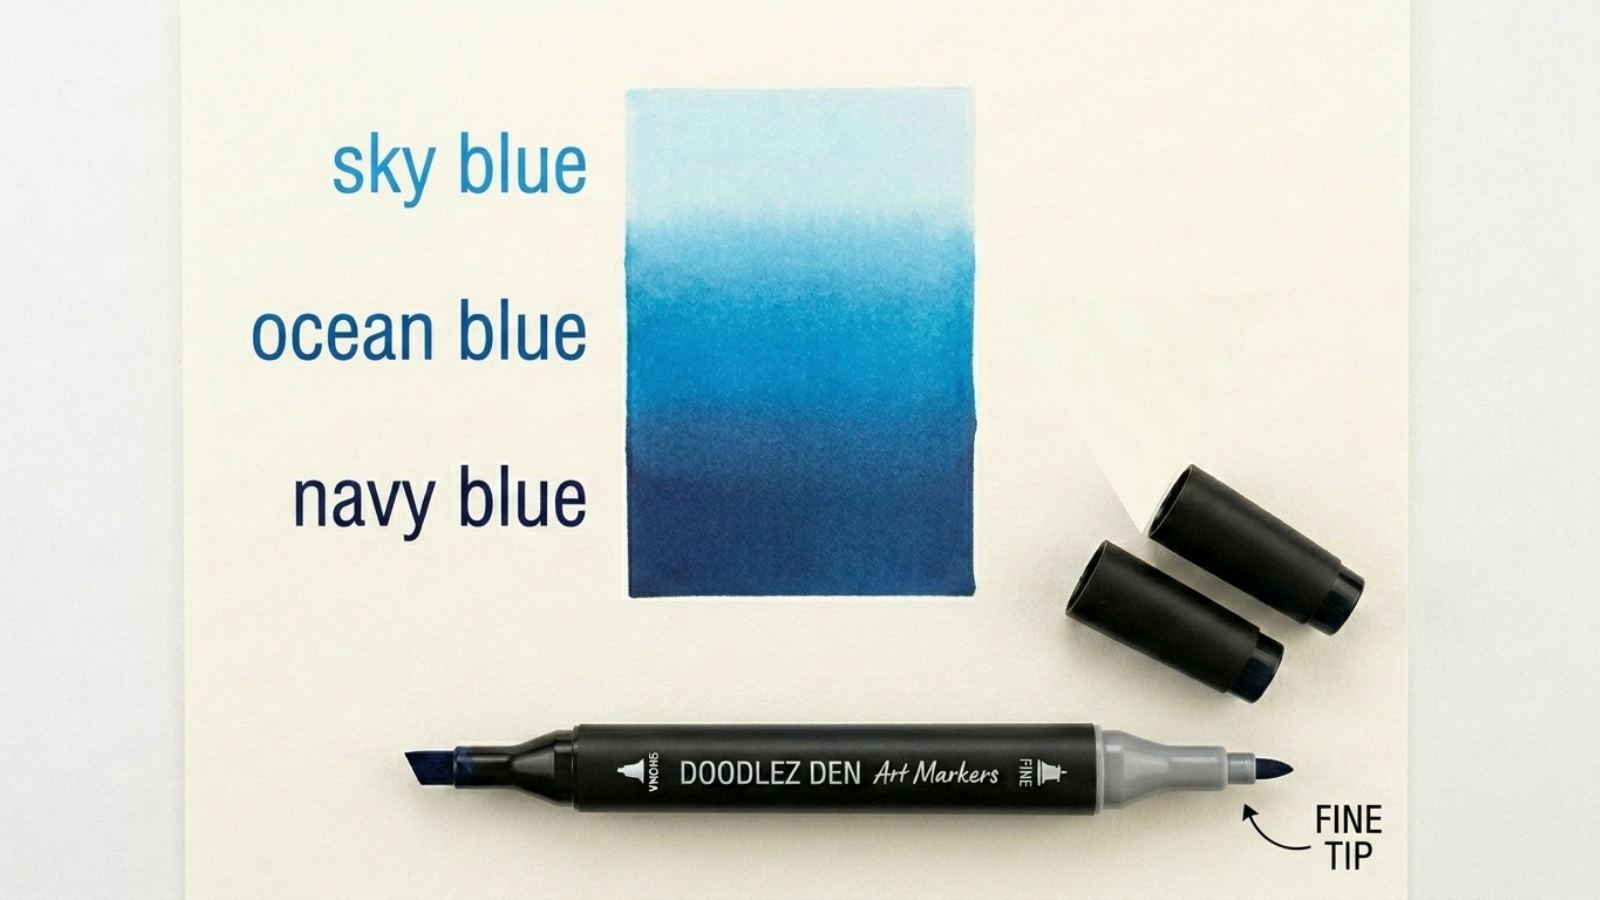
Blue Palette
Sky Blue
Ocean Blue
Navy Blue
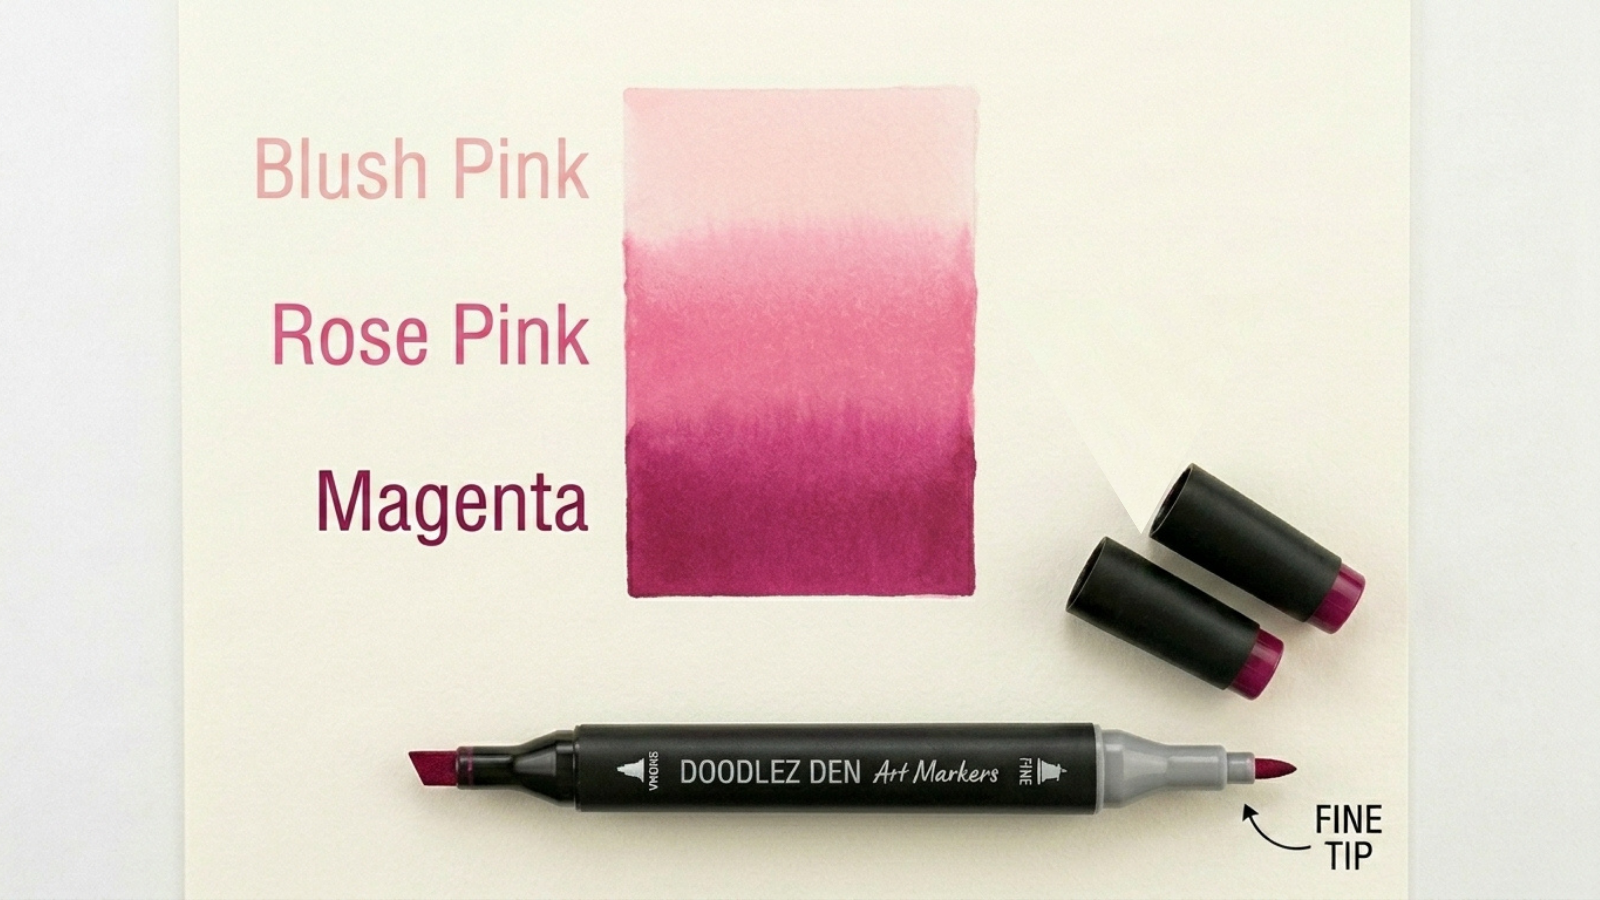
Pink Palette
Blush Pink
Rose Pink
Magenta
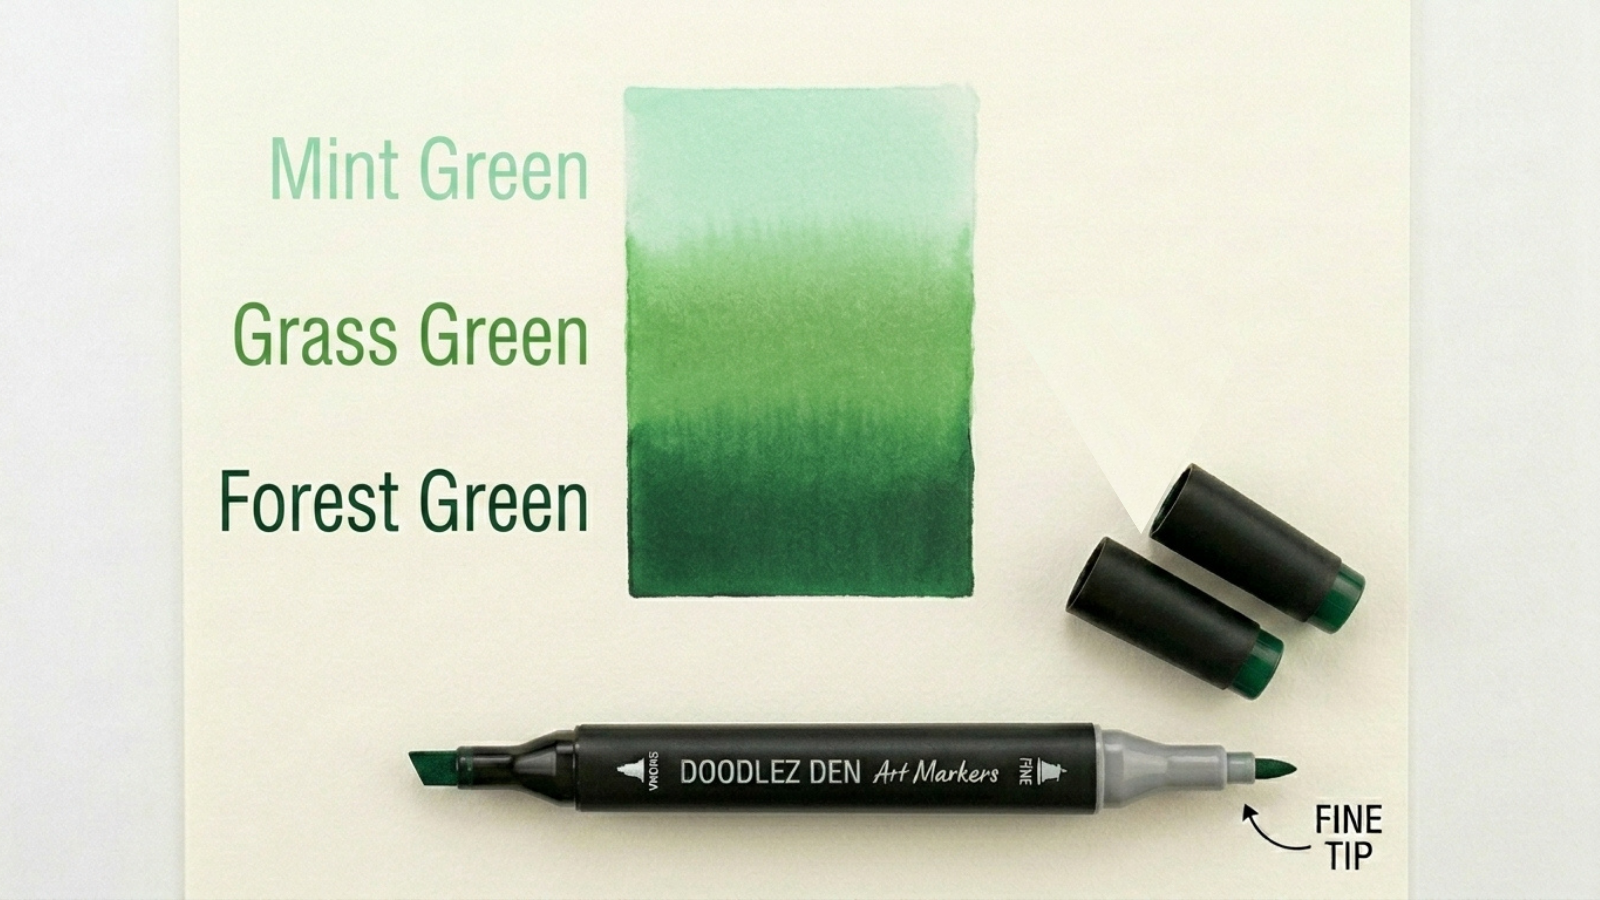
Green Palette
- Mint Green
- Grass Green
- Forest Green
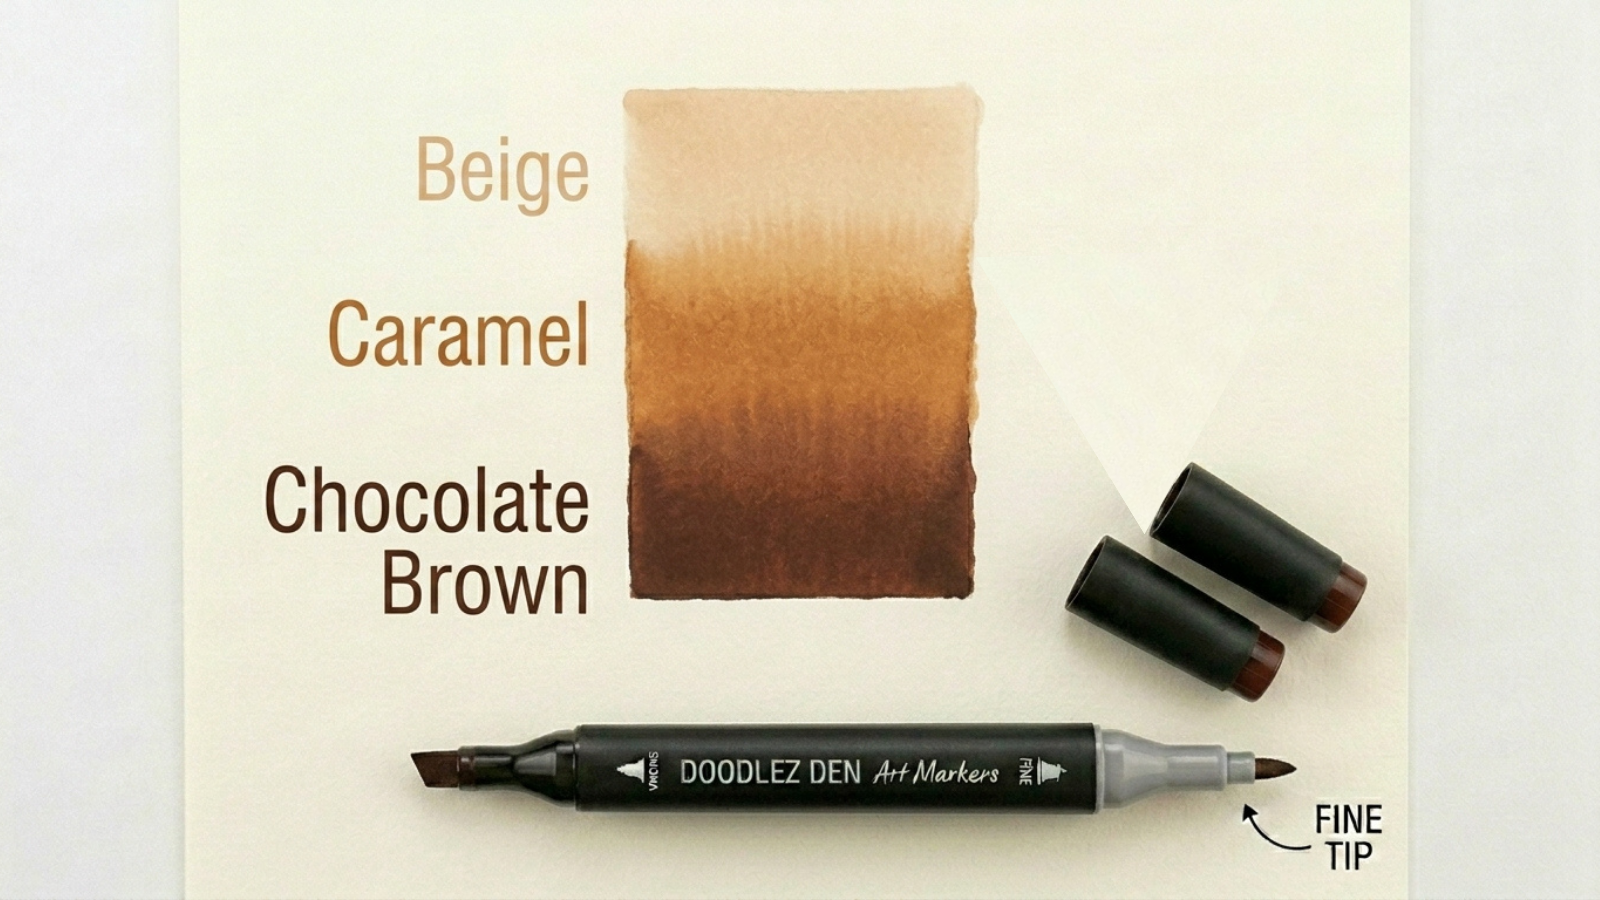
Brown Palette
- Beige
- Caramel
- Chocolate Brown
Using colors from the same family produces smoother blends.
How to Avoid Streaks
Many beginners struggle with streaking.
To reduce streaks:
- Work quickly while ink is wet
- Use smooth circular motions
- Avoid overworking areas
- Use marker-friendly paper
- Blend similar shades together
Common Alcohol Marker Blending Mistakes
Choosing Colors That Are Too Far Apart
A very light color and a very dark color can be difficult to blend.
Waiting Too Long
Alcohol marker blending works best when the ink is still wet.
Using the Wrong Paper
Paper quality affects blending significantly.
Pressing Too Hard
Alcohol markers work best with light pressure.
Best Paper for Alcohol Marker Blending
Good paper helps achieve smoother results.
Look for:
- Thick paper
- Marker paper
- Single-sided coloring books
- Bleed-resistant paper
Many coloring enthusiasts also place a protective sheet behind the page to prevent bleed-through.
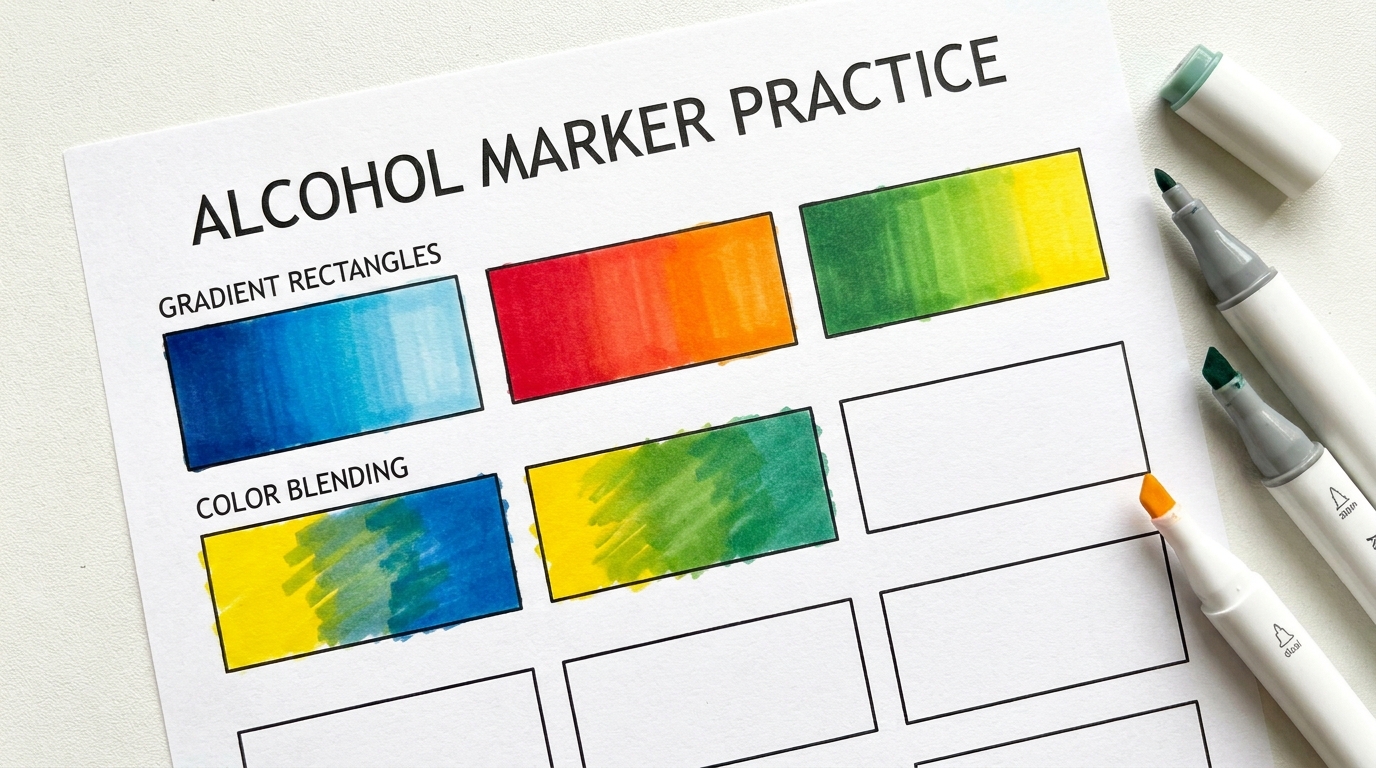
Practice Exercise for Beginners
Draw three rectangles.
Fill each rectangle using:
- Two-color blend
- Three-color blend
- Light-to-dark gradient
Repeat with different color families until blending feels natural.
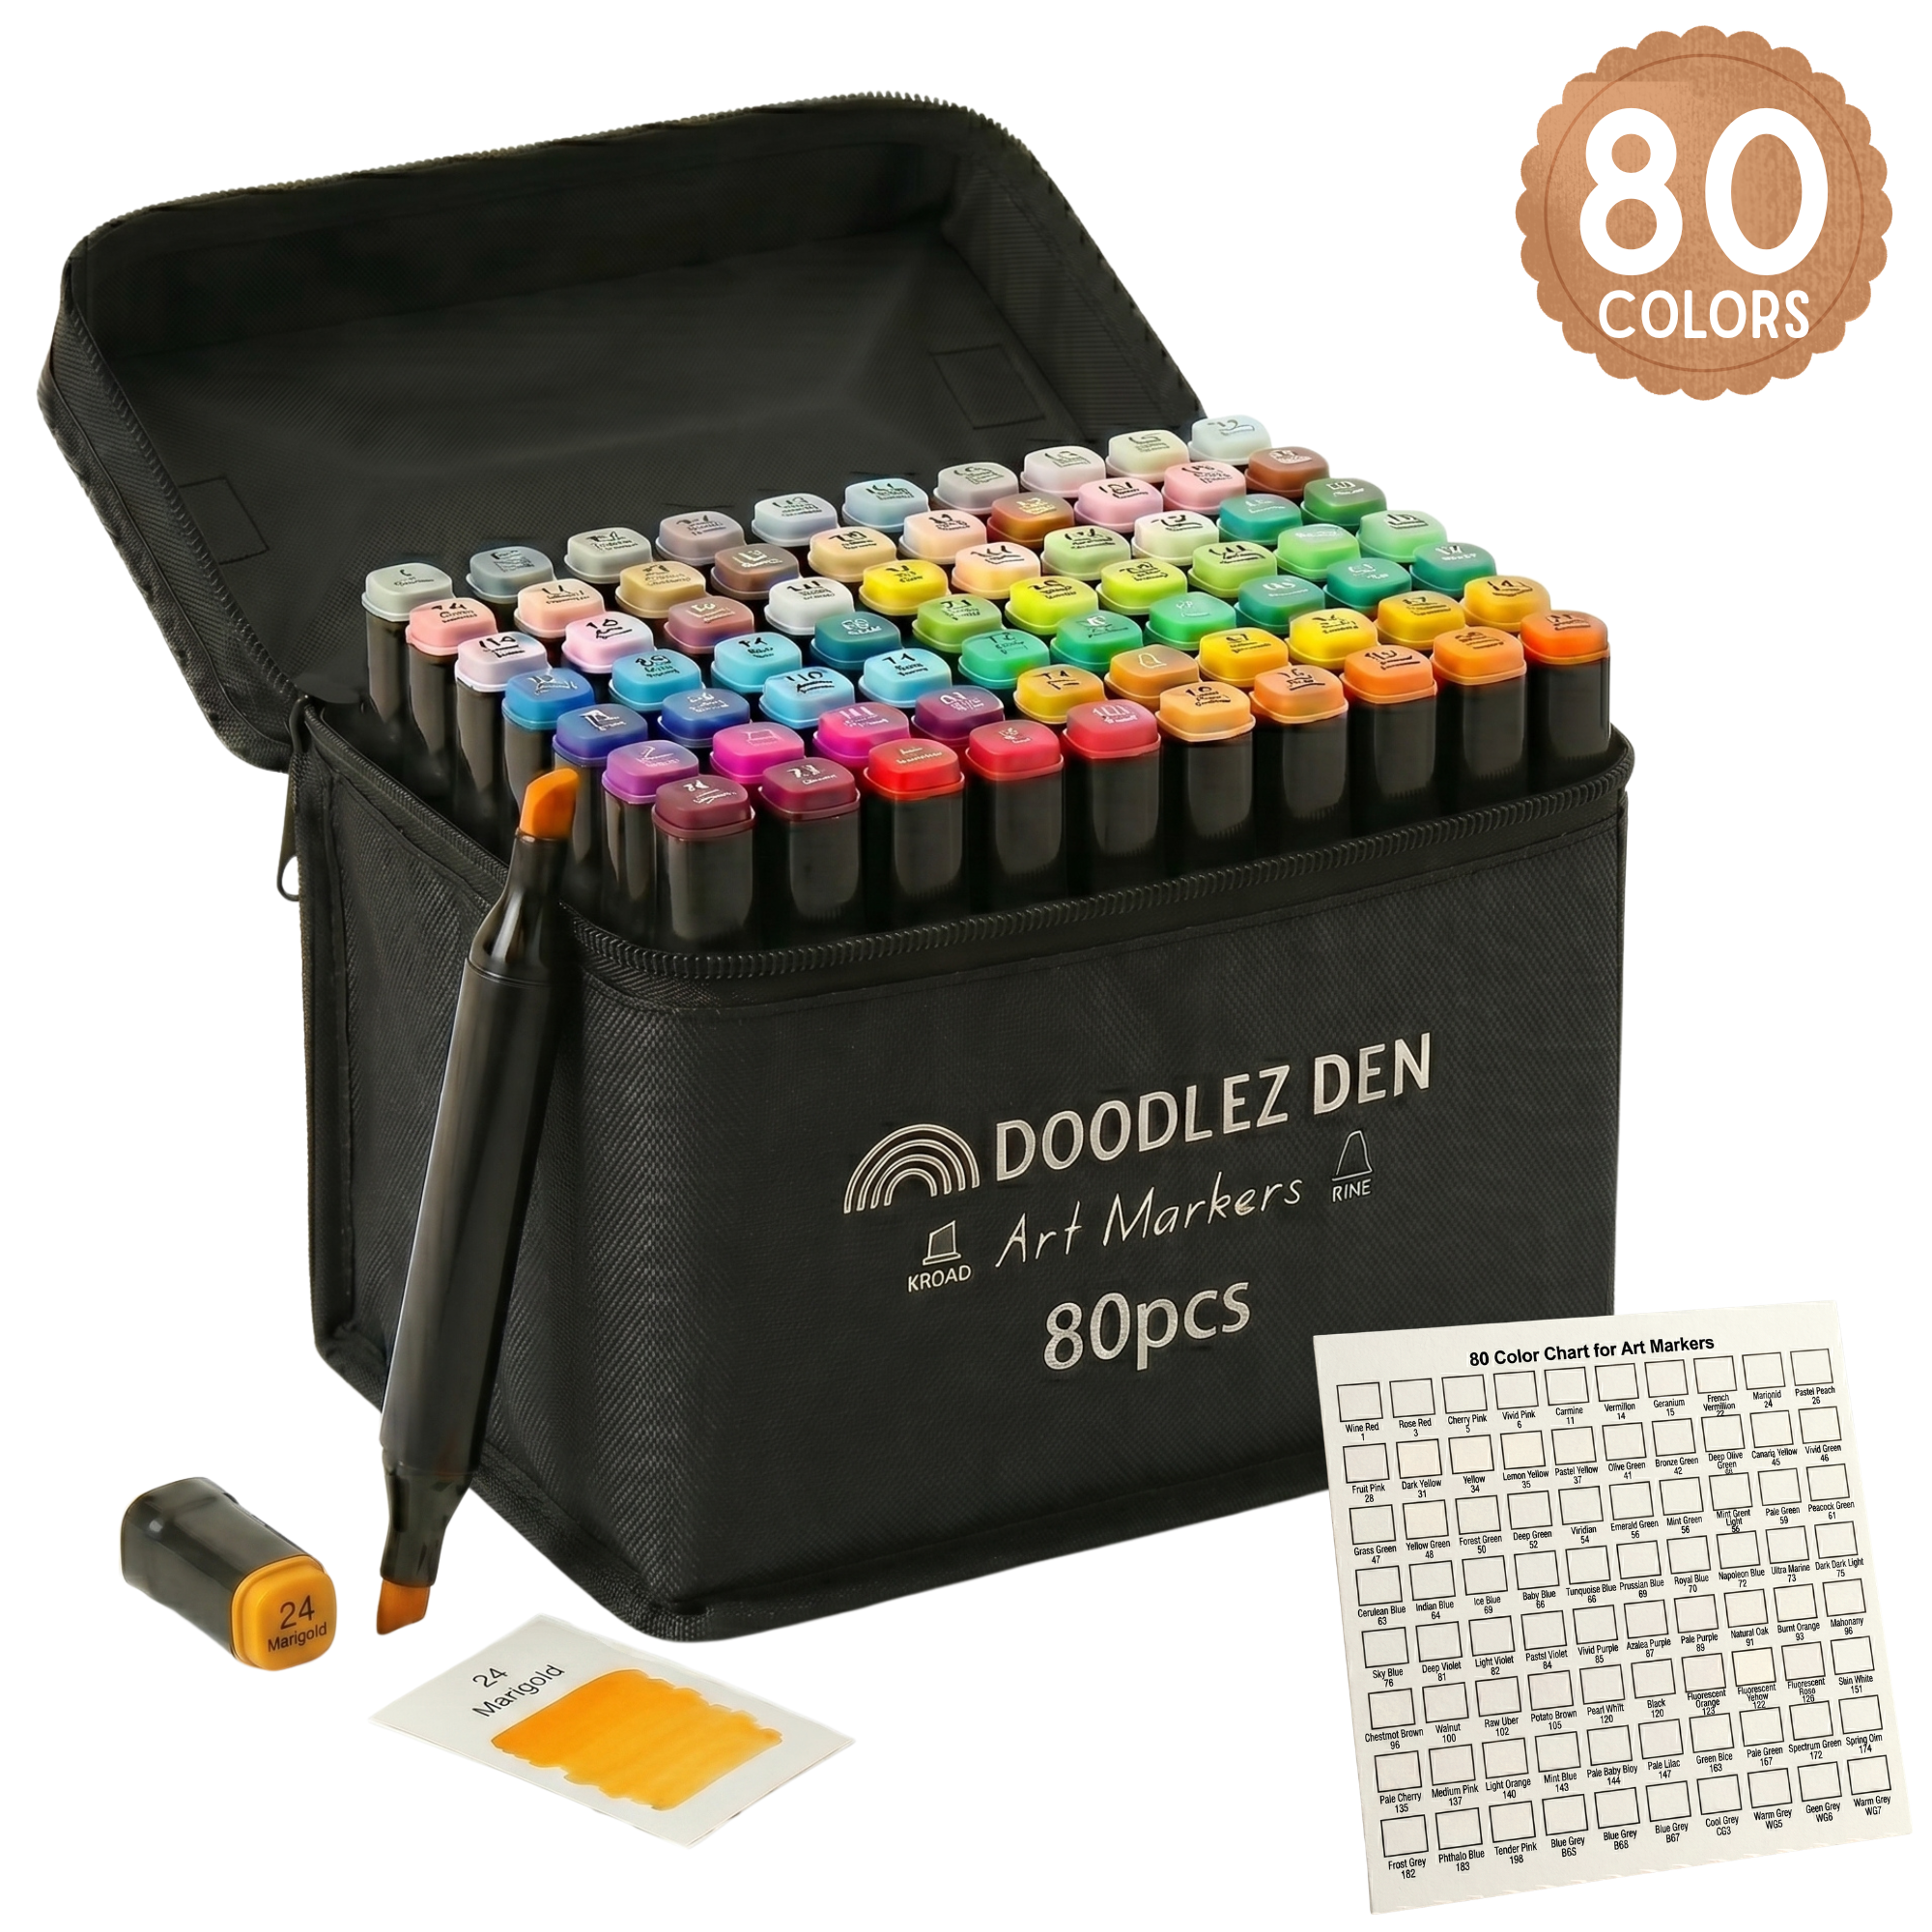
Doodlez Den Alcohol Markers
Smooth ink flow and beginner-friendly color selection make them a great option for coloring books and creative projects.
Caliart Alcohol Markers
Popular for brush-tip blending techniques.
Frequently Asked Questions
How do you blend alcohol markers smoothly?
Use similar shades, work while the ink is wet, and blend transition areas using the lighter color.
What colors blend best with alcohol markers?
Colors within the same family generally produce the smoothest blends.
Can beginners blend alcohol markers?
Yes. Starting with two-color blends is the easiest way to learn.
Do alcohol markers blend better than water-based markers?
Alcohol markers typically provide smoother blending and more vibrant transitions.
Final Thoughts
Learning how to blend alcohol markers is one of the best ways to improve your coloring and creative projects. Start with simple two-color blends, practice regularly, and experiment with different color combinations. With time, you’ll create smooth gradients, beautiful shading, and more professional-looking coloring pages.